
This post contains affiliate links, which means I make a small commission at no extra cost to you. See my full disclosure here.
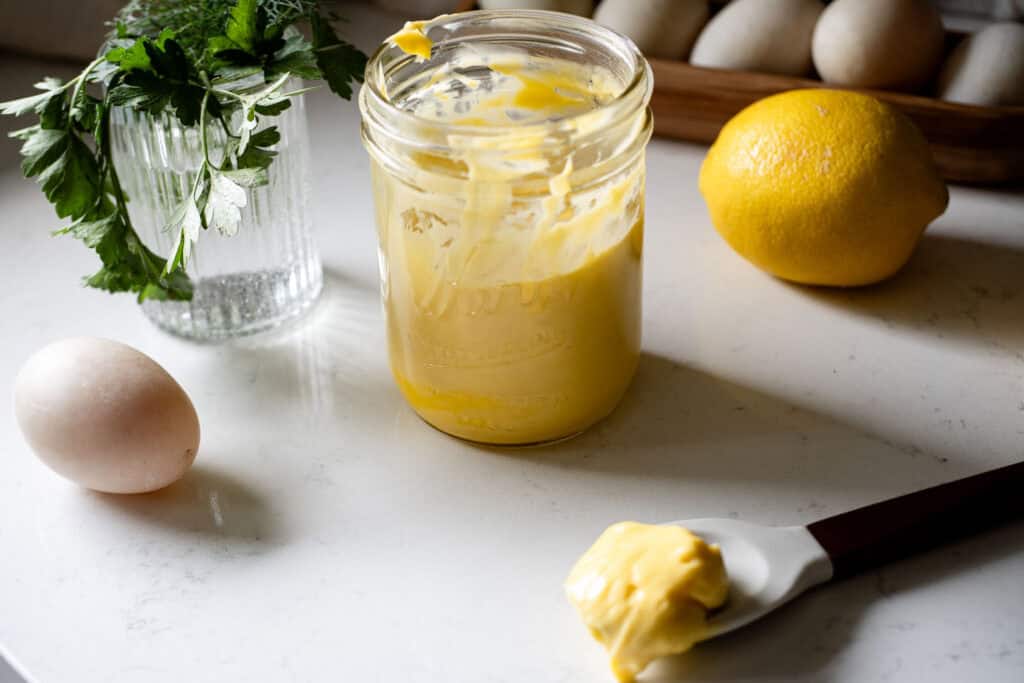
There’s something incredibly satisfying about making your own mayonnaise at home, especially when you swap out seed oils for something nourishing like ghee. This homemade mayo with ghee is rich, velvety, and perfect for spreading, dipping, or mixing into dressings and sauces. It’s made with simple, wholesome ingredients and comes together in just a few minutes.
In this post, I’ll walk you through how to make mayo with ghee at home, the benefits of using ghee instead of traditional oils, and tips for getting the perfect consistency every time.
Why Make Mayo with Ghee?
If you’ve ever flipped over a store-bought mayo jar and looked at the ingredients, you’ve probably seen canola or soybean oil at the top of the list. These oils are cheap and shelf-stable, but not exactly nourishing. By using ghee, a form of clarified butter, you’re upgrading your mayo to something that’s both delicious and nutrient-dense.
Here’s why ghee works so well:
- Flavor: Ghee gives the mayo a buttery richness that’s hard to beat.
- Health benefits: Ghee contains fat-soluble vitamins like A, D, E, and K, along with butyrate for gut health.
- Stability: Ghee is more stable at room temperature than many oils, making it a smart choice for homemade condiments.
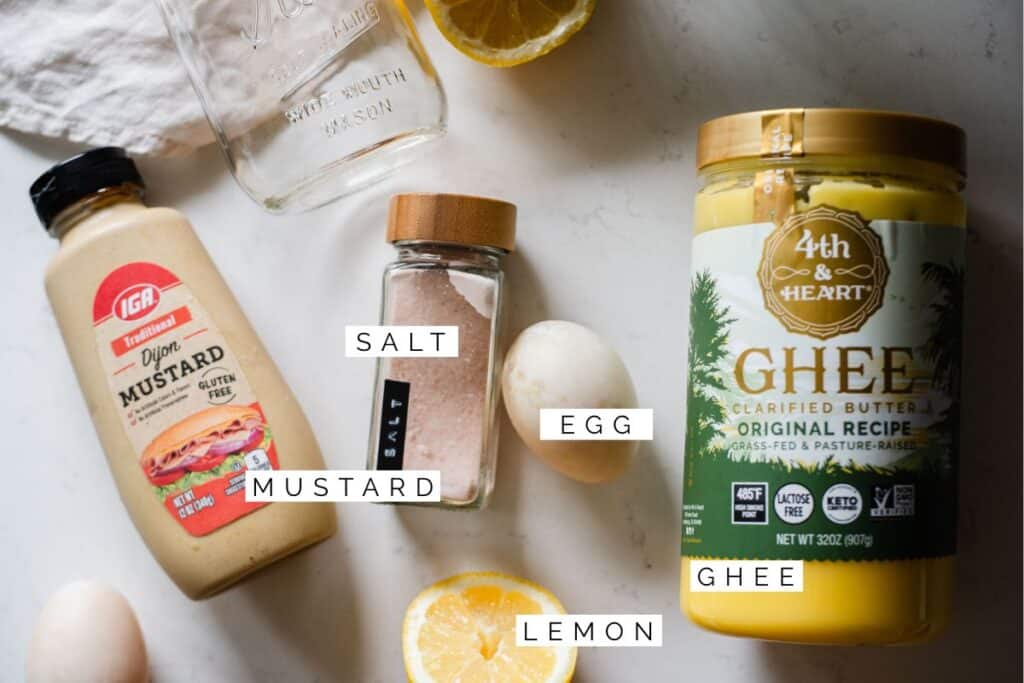
Ingredients You’ll Need
You only need a handful of ingredients to make ghee mayo:
- 1 whole egg (at room temperature)
- 1 tbsp lemon juice or apple cider vinegar
- 1/2 tsp Dijon mustard (for stability and flavor)
- 1/4 tsp sea salt
- 1 cup melted ghee, cooled to room temperature
- Optional: you can also substitute some of the ghee for avocado oil
You’ll also need a stick blender (immersion blender) and a wide-mouth mason jar or tall container that fits the head of your blender.
Tip: Make sure your egg and ghee are close to room temperature before you start. Temperature differences are the #1 reason mayo doesn’t emulsify properly.
How to Make Ghee Mayo
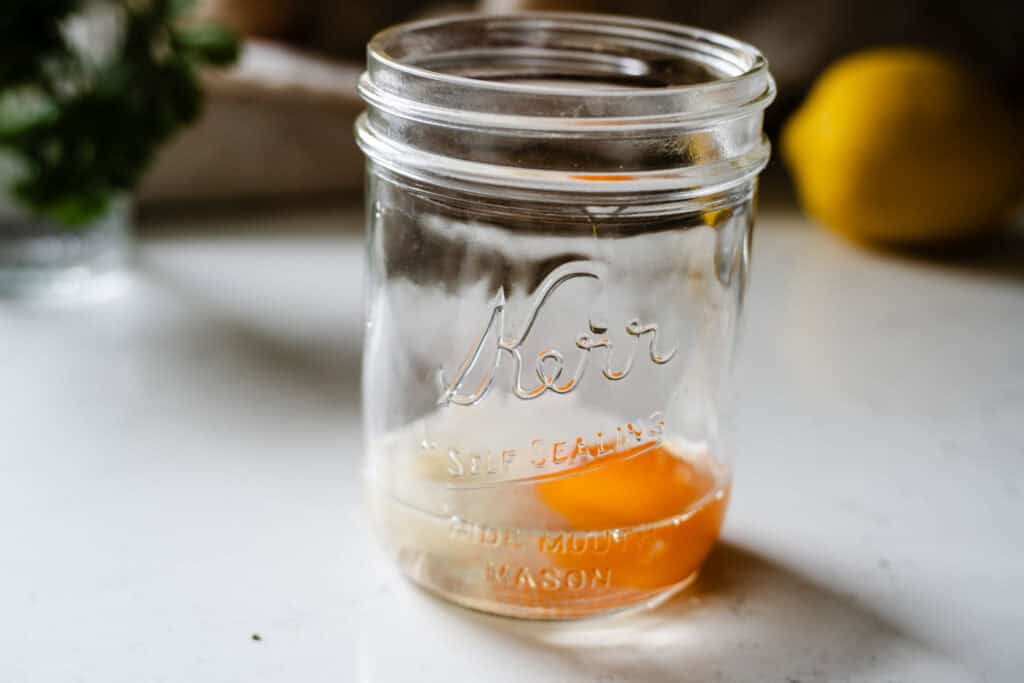
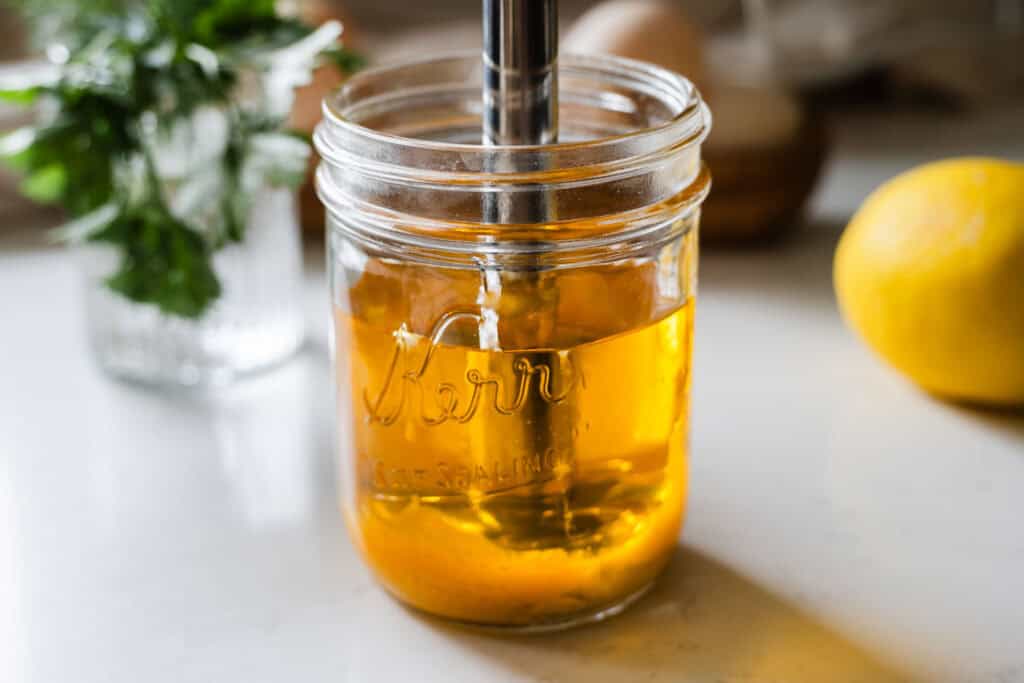
Step 1: Add your ingredients to the jar
Crack the egg into the bottom of the jar. Add lemon juice, mustard, and salt. Then pour in your melted (but not hot!) ghee.
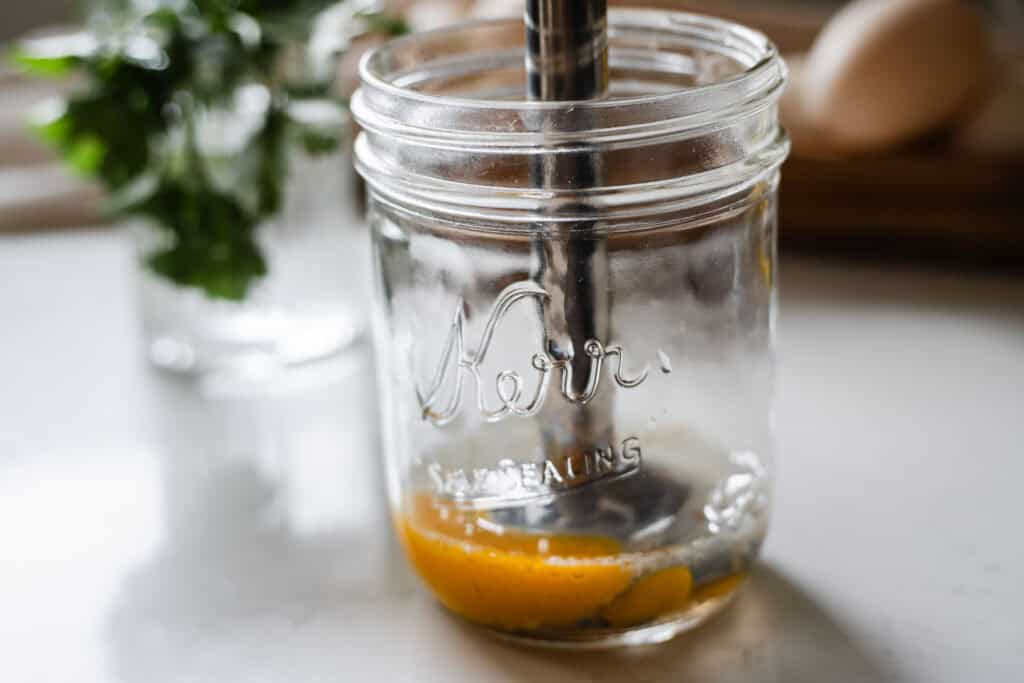
Step 2: Place your immersion blender at the bottom
Stick it all the way down so it touches the bottom of the jar. Don’t move it yet!
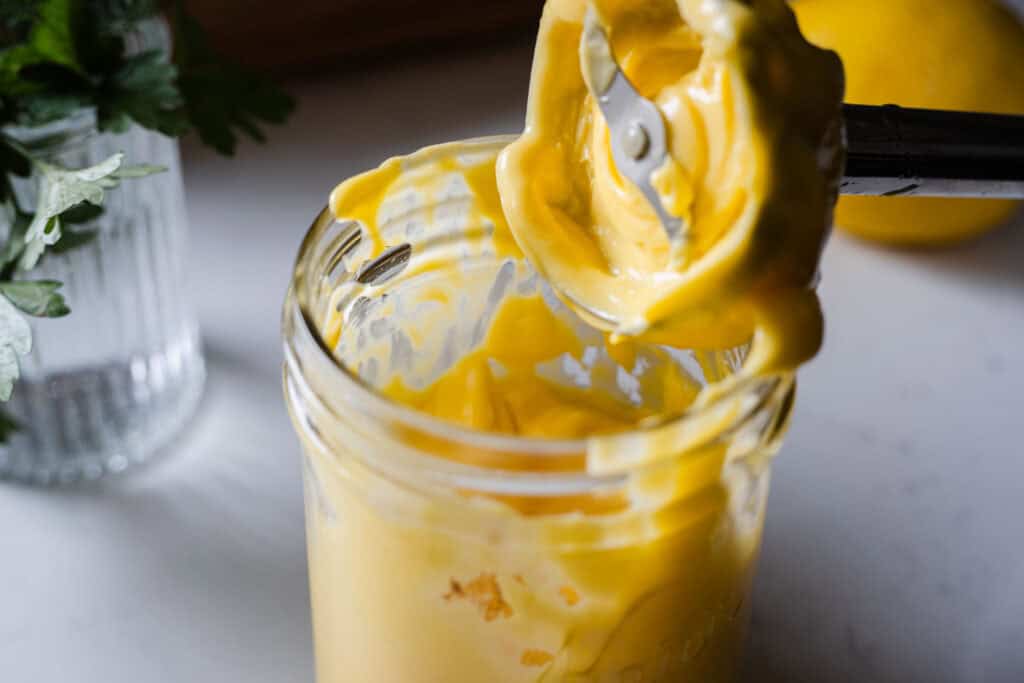
Step 3: Blend until emulsified
Turn on the blender and keep it still for the first 10–15 seconds. You’ll see the mayo begin to form at the bottom. Once it thickens, slowly lift the blender to incorporate the rest of the ghee.
Step 4: Taste and adjust
Give your mayo a taste—add more salt or lemon juice if needed.
Step 5: Store
Scoop into a clean jar with a lid. Store in the fridge for up to 7–10 days.
If you are planning on storing this, I would recommend using some avocado oil to keep a spreadable consistency! This will harden up in the fridge.
Tip: Using just ghee will have a very rich buttery flavor. For a more neutral flavor, you can mix it with avocado oil, 50-50.
Storage Tips
Homemade mayo doesn’t contain preservatives, so it won’t last as long as the store-bought stuff—but you can still get a solid week or more of freshness with proper storage.
- Use a clean spoon each time to avoid introducing bacteria.
- Label the jar with the date you made it.
- Store it in the coldest part of your fridge, not the door.
Want it to last longer? Try adding a teaspoon of whey (from yogurt or kefir). Let the mayo ferment on the counter for 6–8 hours, then refrigerate. This adds probiotics and may extend the shelf life to up to 3 weeks.
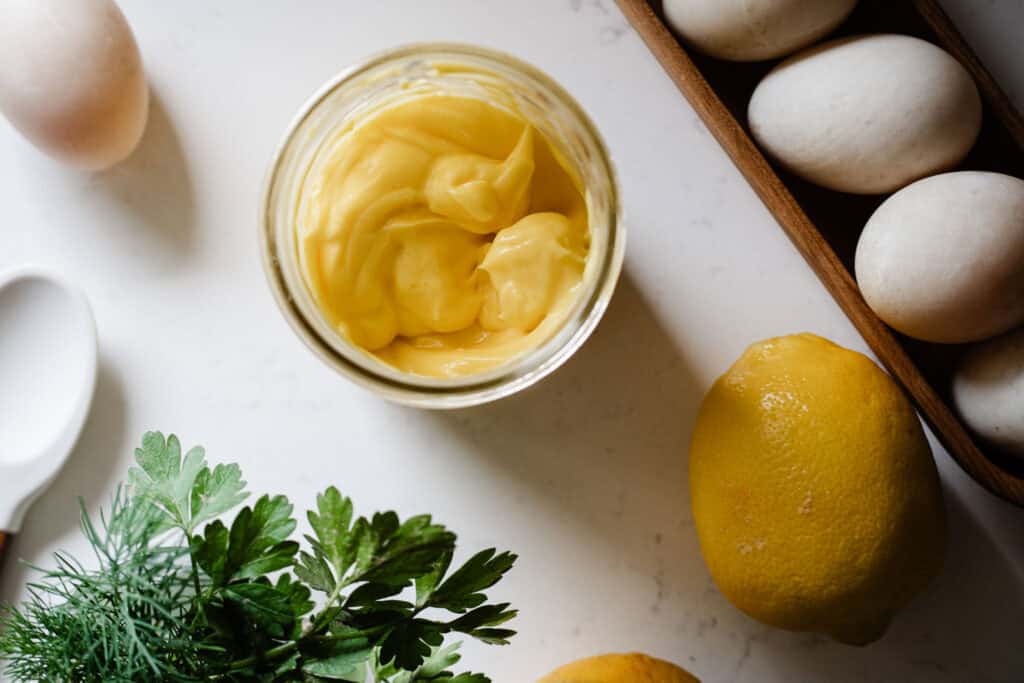
Ways to Use Ghee Mayo
Ghee mayo is buttery, creamy, and super versatile. Use it just like you would regular mayo:
- Spread it on sandwiches or wraps
- Stir into chicken or tuna salad
- Mix with garlic and lemon for a homemade aioli
- Use as a base for creamy salad dressings
- Serve as a dip for roasted veggies or fries
Because of the flavor of ghee, this mayo pairs especially well with bold ingredients like roasted garlic, Dijon mustard, or smoky spices.
Troubleshooting Homemade Mayo
If your mayo doesn’t thicken, don’t worry—it happens to the best of us! Here’s what to do:
FAQs
Patience and temperature are key. Once you’ve done it a couple of times, it becomes second nature.
Why Use an Immersion Blender?
Technically, you can make mayo in a food processor or by hand with a whisk, but an immersion blender makes it practically foolproof. No need to slowly drizzle the oil—just dump and blend. It’s one of those tools that’s worth keeping around if you’re into homemade sauces and dressings.
Grab the Printable Recipe
Want to keep this on hand for later? Download and print the full recipe to tuck in your kitchen binder or pin to the fridge. Simple, clear instructions you can reference anytime you’re ready to whip up a fresh batch of mayo!
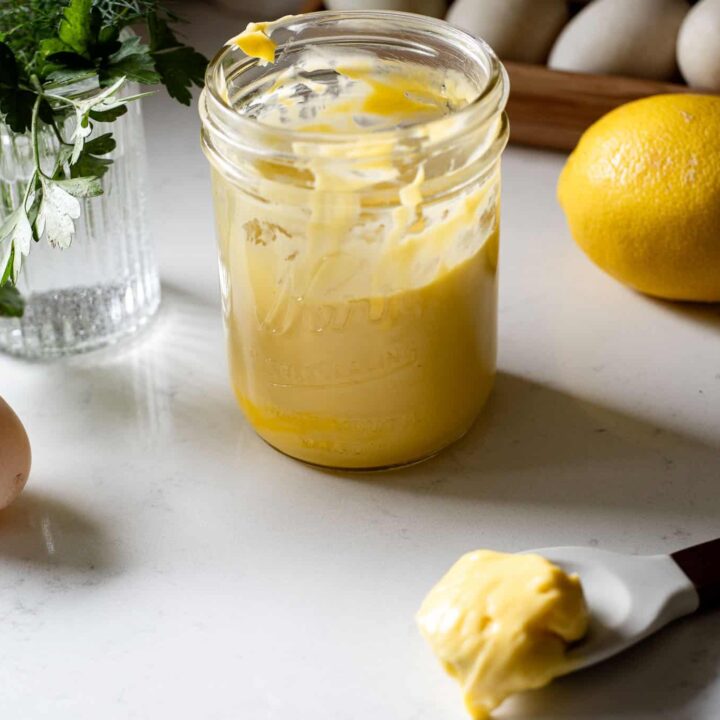
Homemade Mayo Made with Ghee
This creamy homemade mayo is made with ghee for a rich, buttery flavor and healthier twist on the classic. It's quick to make with just a few ingredients and an immersion blender.
Ingredients
- 1 egg (room temperature)
- 1 tbsp lemon juice or apple cider vinegar
- 1/2 tsp Dijon mustard
- 1/4 tsp sea salt
- 1 cup melted ghee, cooled
Instructions
- Add all ingredients to a wide-mouth jar.
- Place immersion blender at the bottom and turn it on.
- Blend until thick, then slowly lift to incorporate all the ghee.
- Taste and adjust seasonings.
- Store in the fridge for 7–10 days
Pin It for Later
Want to make it again? Save this homemade ghee mayo recipe to one of your boards and come back to it anytime.

Final Thoughts
Making your own mayo might sound like an extra step—but once you try it with ghee, there’s no going back. It’s rich, creamy, and made with ingredients you actually feel good about using. Whether you’re spreading it on a sandwich, mixing it into a potato salad, or using it as a base for dressings, this homemade ghee mayo brings a buttery depth you just can’t get from store-bought versions.
It’s one of those simple kitchen wins that makes everyday meals feel a little more special. And the best part? It comes together in minutes with just a handful of real food staples. Once you make it, you’ll wonder why you ever bought mayo in a jar.
Give it a try, keep it in the fridge, and don’t be surprised if you find yourself making it on repeat.


Love this recipe! I never thought to use ghee in homemade mayo. such a simple twist with a rich flavor.
I’ve had ghee when I went to an Indian restaurant, but I’ve never made anything with ghee at home. I know it’s supposed to be really good for you!
Simply divine, tastes so much better than what you get at the store. We enjoyed ours on tomato sandwiches fresh from the garden.
Thanks for sharing the tutorial on how to make it. With easy-to-find ingredients and simple methods, I will make it soon.
This is such a great recipe. I have tried making mayo once at home but using oil. I am sure that with ghee it will not just turn out better but also is a healthier version.
Thank you for this recipe to make my own mayonnaise at home. I love swapping out seed oils for ghee.
Don’t laugh, but I’ve never made homemade mayonnaise before and I had no idea what ghee before I read this. Now I’m inspired to try to make my own!
Not laughing at all, I love this! Everyone starts somewhere, and I’m so glad the post inspired you. Homemade mayo is a total game changer, and using ghee gives it such a rich, buttery flavor. Let me know how it goes if you try it!
We have our own dairy cow and love making butter. Ghee is a more shelf stable product so I’m super excited to make this! Thank you for the inspiration and recipe!
Now this one I’m got to try! Ghee (clarified butter!) instead of vinegar. 🙂
Love making my own condiments with wholefoods, can’t wait to try this recipe!
Mayo as dips with chips is my fave way to eat it!
Ghee is my favourite 🫠. I used it eat with rice sometimes. Never thought such a beautiful dish could be made out of this.
Ooohhhh….never used ghee in our mayonnaise! Totally making this!
Oh, I love this! I will totally have to try making mayo with ghee. What a fantastic recipe, thanks for sharing this!
Sounds yummy 😋
I love how easy this is to make. We have only made mayo with avocado oil but are excited to try this!
Wow. I had no idea we could use ghee for making mayo. I’m definitely gonna try this recipe and I bet it tastes amazing!! Thanks for sharing this recipe.
Very interesting! I never thought of using ghee instead of olive oil! Thank you
I don’t know if I’ve ever tried mayo from ghee before. I think I’m missing out on something wonderful!
Love this recipe, thank you for sharing! I usually make homemade mayo with avocado oil but love the ghee for the flavor and added health benefits!
Wow. Interesting recipe. Will have to try it….
Ghee mayo is buttery, creamy, and super versatile.
I haven’t even thought of this before, but what a wonderful idea! Epically if you run out of oil !
Looks great, thanks for sharing your recipe! I’ll be trying this soon!
Even though I do not eat mayonnaise, I must say that this in interesting. I am sure all the mayo lovers will love your Ghee version. Thanks for sharing your recipe
I made this recipe and it really does taste fantastic! The first time it didn’t emulsify, so I used another egg and did what you said in the FAQs and it worked! It’s quite creamy, almost velvety. I would only need to add just a bit more salt because of the additional egg. Thanks for such a great, and easy, recipe!
Thank you for the feedback! I’m glad you found the FAQ section helpful! Enjoy:)